Last time we looked at the first lesson of the Soroka Course and I told you how to perform our first lesson, how we repeat words, how we read them and how we do the exercises in the first few pages of the Student’s Book and the Activity Book. As soon as we finish these exercises, we will move on.
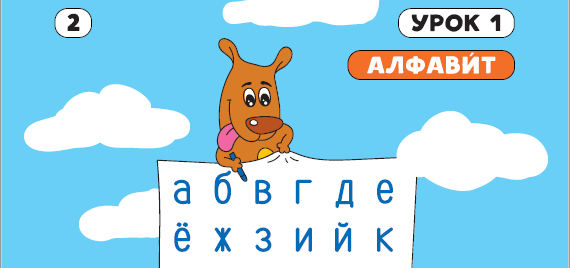
We open the Student’s Book to Page 2 and see the Russian alphabet. It is not necessary to learn it by heart. It is necessary just to examine the letters and see which letters you are already familiar with. If your native language uses Cyrillic or Latin, then you will not have any difficulty in doing it. First, there are the letters А, У, Е, О. Secondly, there are the letters М, Н, К, Т, В. Meet them with joy as if they are your good acquaintances. That is the way it is that these letters are our friends that we met in a very unpredictable place – in the Russian alphabet. You can listen to the audio file where the announcer reads the Russian alphabet. Show your students letters that are not present in their native alphabet. Don’t be scared, we will learn them!
Now it is time to do the next activity/task. We continue getting acquainted with the Russian letters using the names of the people we know. Have the students write on a piece of paper three to five names of relatives or classmates; write them in Russian, with the Russian letters. You will tell your student that you are going to write the student’s brother’s name in Russian and it looks like this: “Джордж.” Now let us write the grandmother’s name. Here it is – in Russian it looks like this: “Бетти.” Let us write the father’s name – “Пол.” Review the names three to five times, pointing at the written words at the same time. Next, do not point at the words; you just name them, and the child points at them.
We have come to a very important part – write your student’s name in Russian. Now they can copy it on the title page of the Activity Book or write in marker on their Student’s Book Soroka. Let them enjoy the way their name looks in the Russian language.
Next, open to Page 2 of the Activity Book and start working on the exercise. Simply look at the way the book characters’ names are written in the Student’s Book and compare their writing in the Activity Book. It is not necessary to read them now. You should simply compare characters, detaching yourself from their meanings.
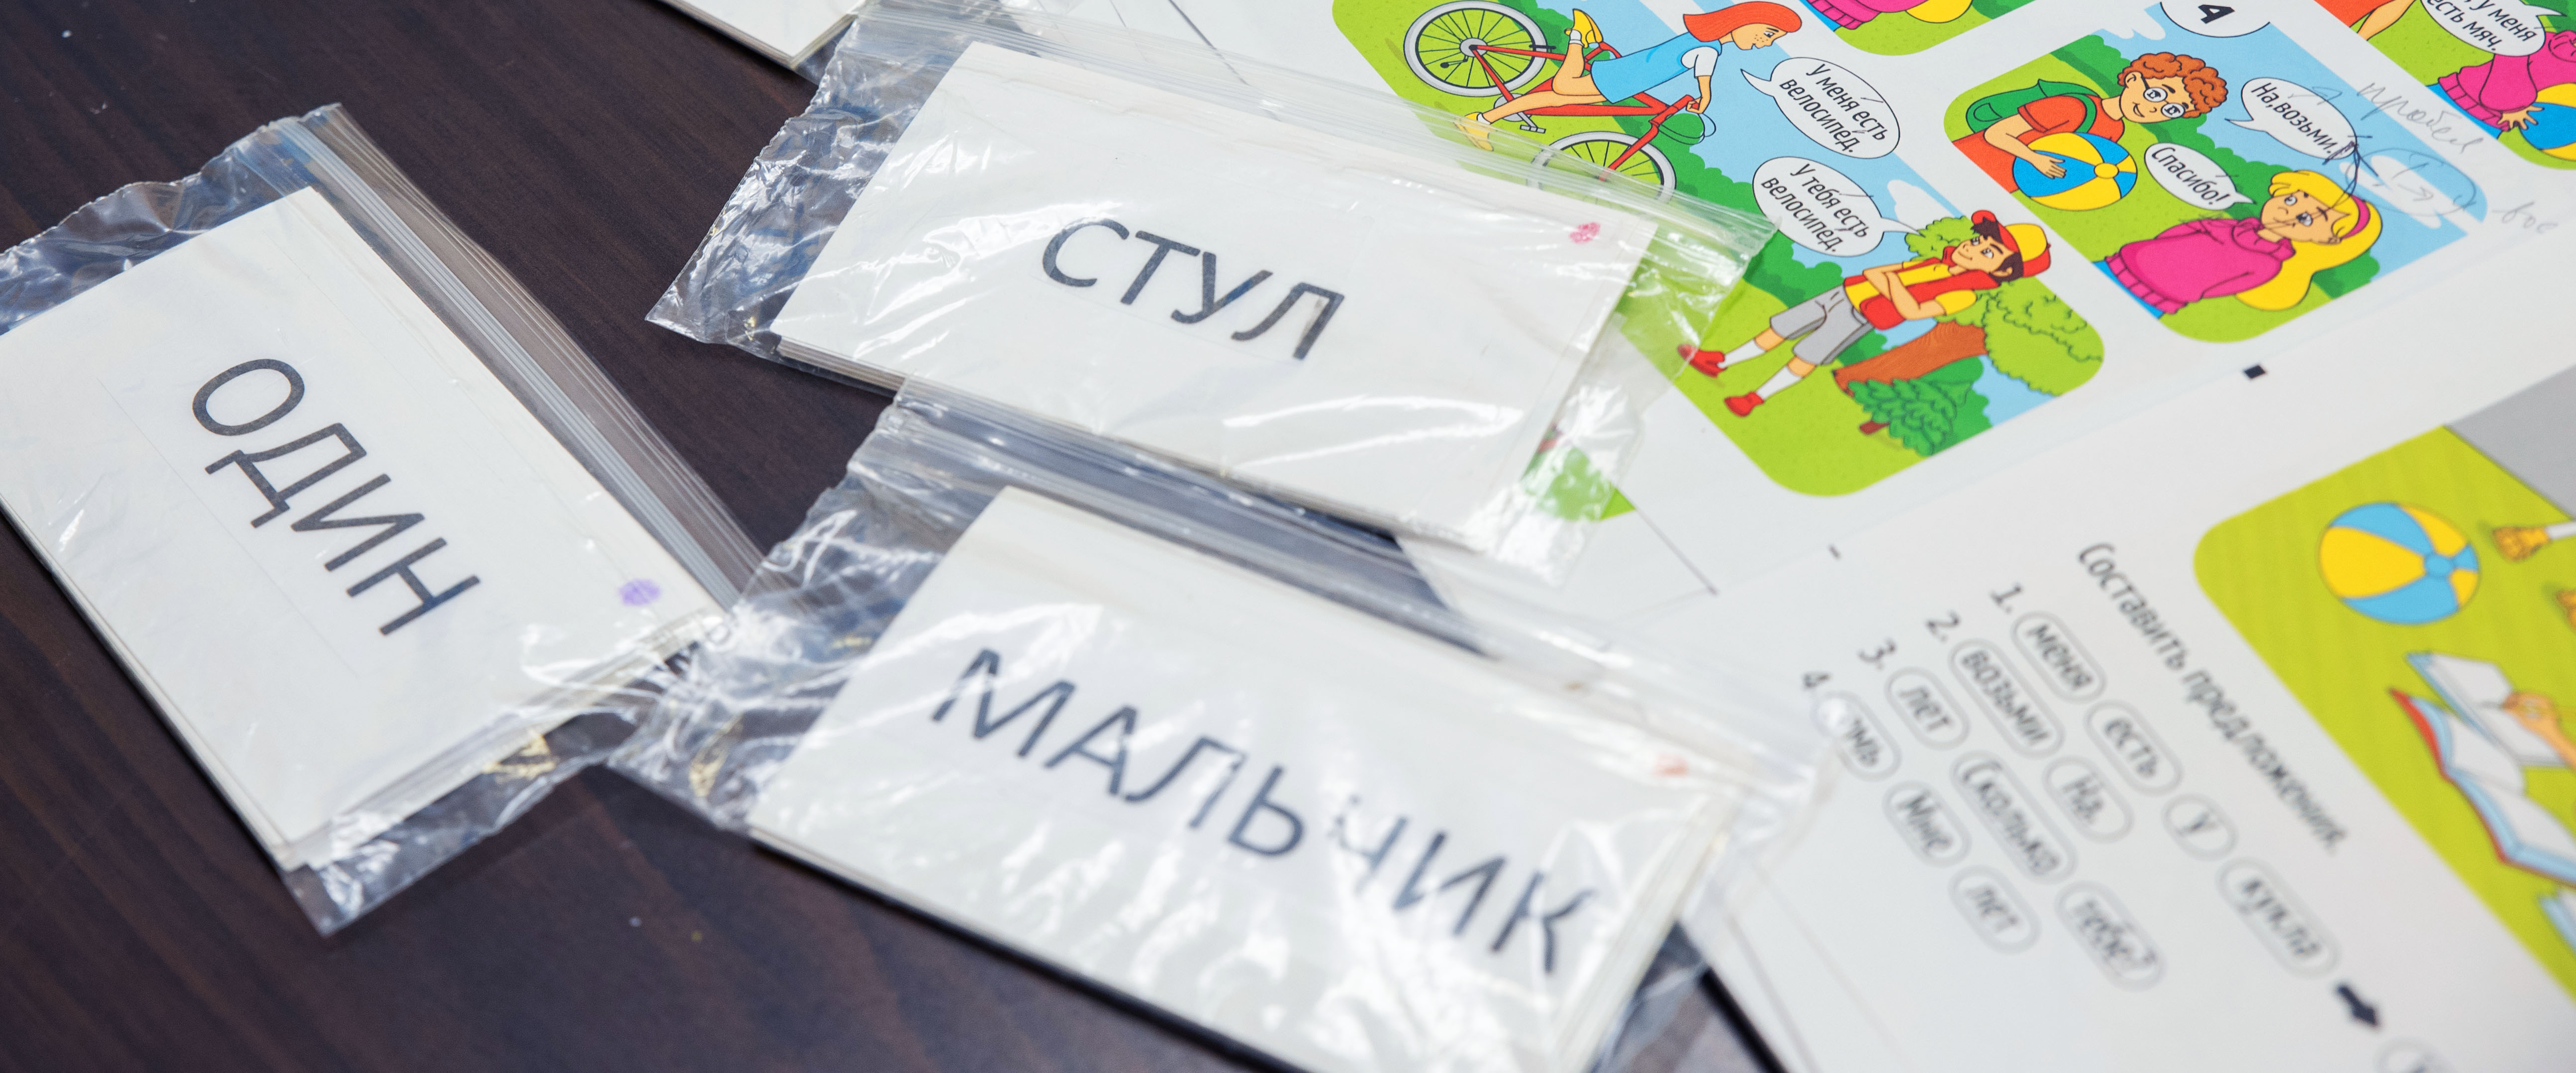
I want to remind you that we learn to read with the help of flash cards. We read words in their entirety or syllable-by-syllable as written on our flash cards. We read for 10 minutes in each class. We read only words we are currently learning or words our students have already learned. For example, I often start my reading class by showing the word “Mama” to my students. My American students can read this word easily since they know all the letters in this word as well as its meaning. Thus I show that reading in Russian is easy and not as scary as some people think.
In parallel with reading words on our flash cards, we do exercises that help us to learn letters and their order in the Russian alphabet. For example, there are such games as “Letters Race” and “Crocodile.” You can find instructions on how to play those games in the Teacher’s Book.
Please write your comments and questions in the comments section below.
All the best!
Turn on English subtitles

Hi. Is there a place on this website to download the flashcards, that we see you using? That would be very useful!
Thank you so much for your work.
I’m sorry, I don’t sell the cards. I probably should.
Let me think about it, and see what I can do for those who want to buy the cards.